 I. Introduction
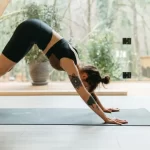
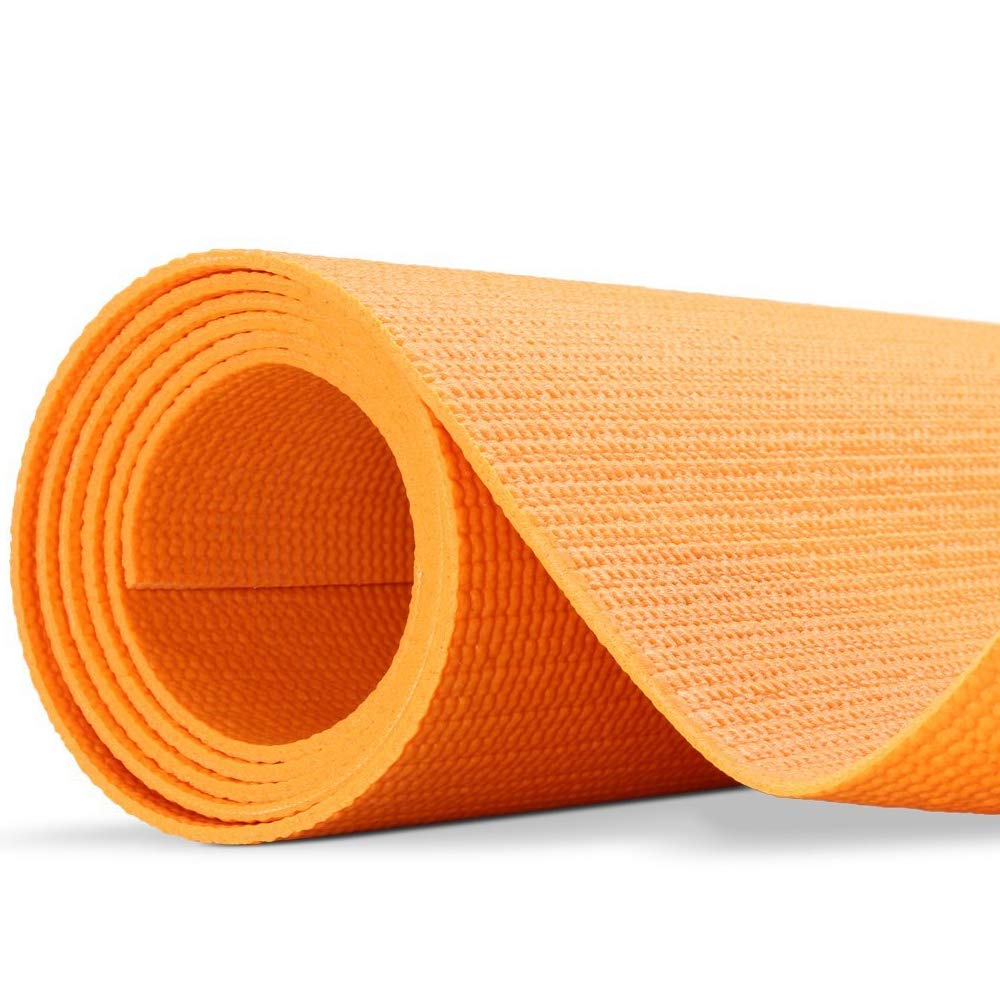
The practice of yoga often involves the use of a yoga mat, which provides comfort, support, and traction during various poses and movements. However, your yoga mat doesn’t have to be a standard, plain accessory. By personalizing your yoga mat, you can add a touch of creativity and uniqueness to your practice. In this article, we will explore the importance of a yoga mat and the benefits of customizing it to reflect your personality and style.
II. Choosing the Right Materials
A. Types of mats suitable for DIY customization:
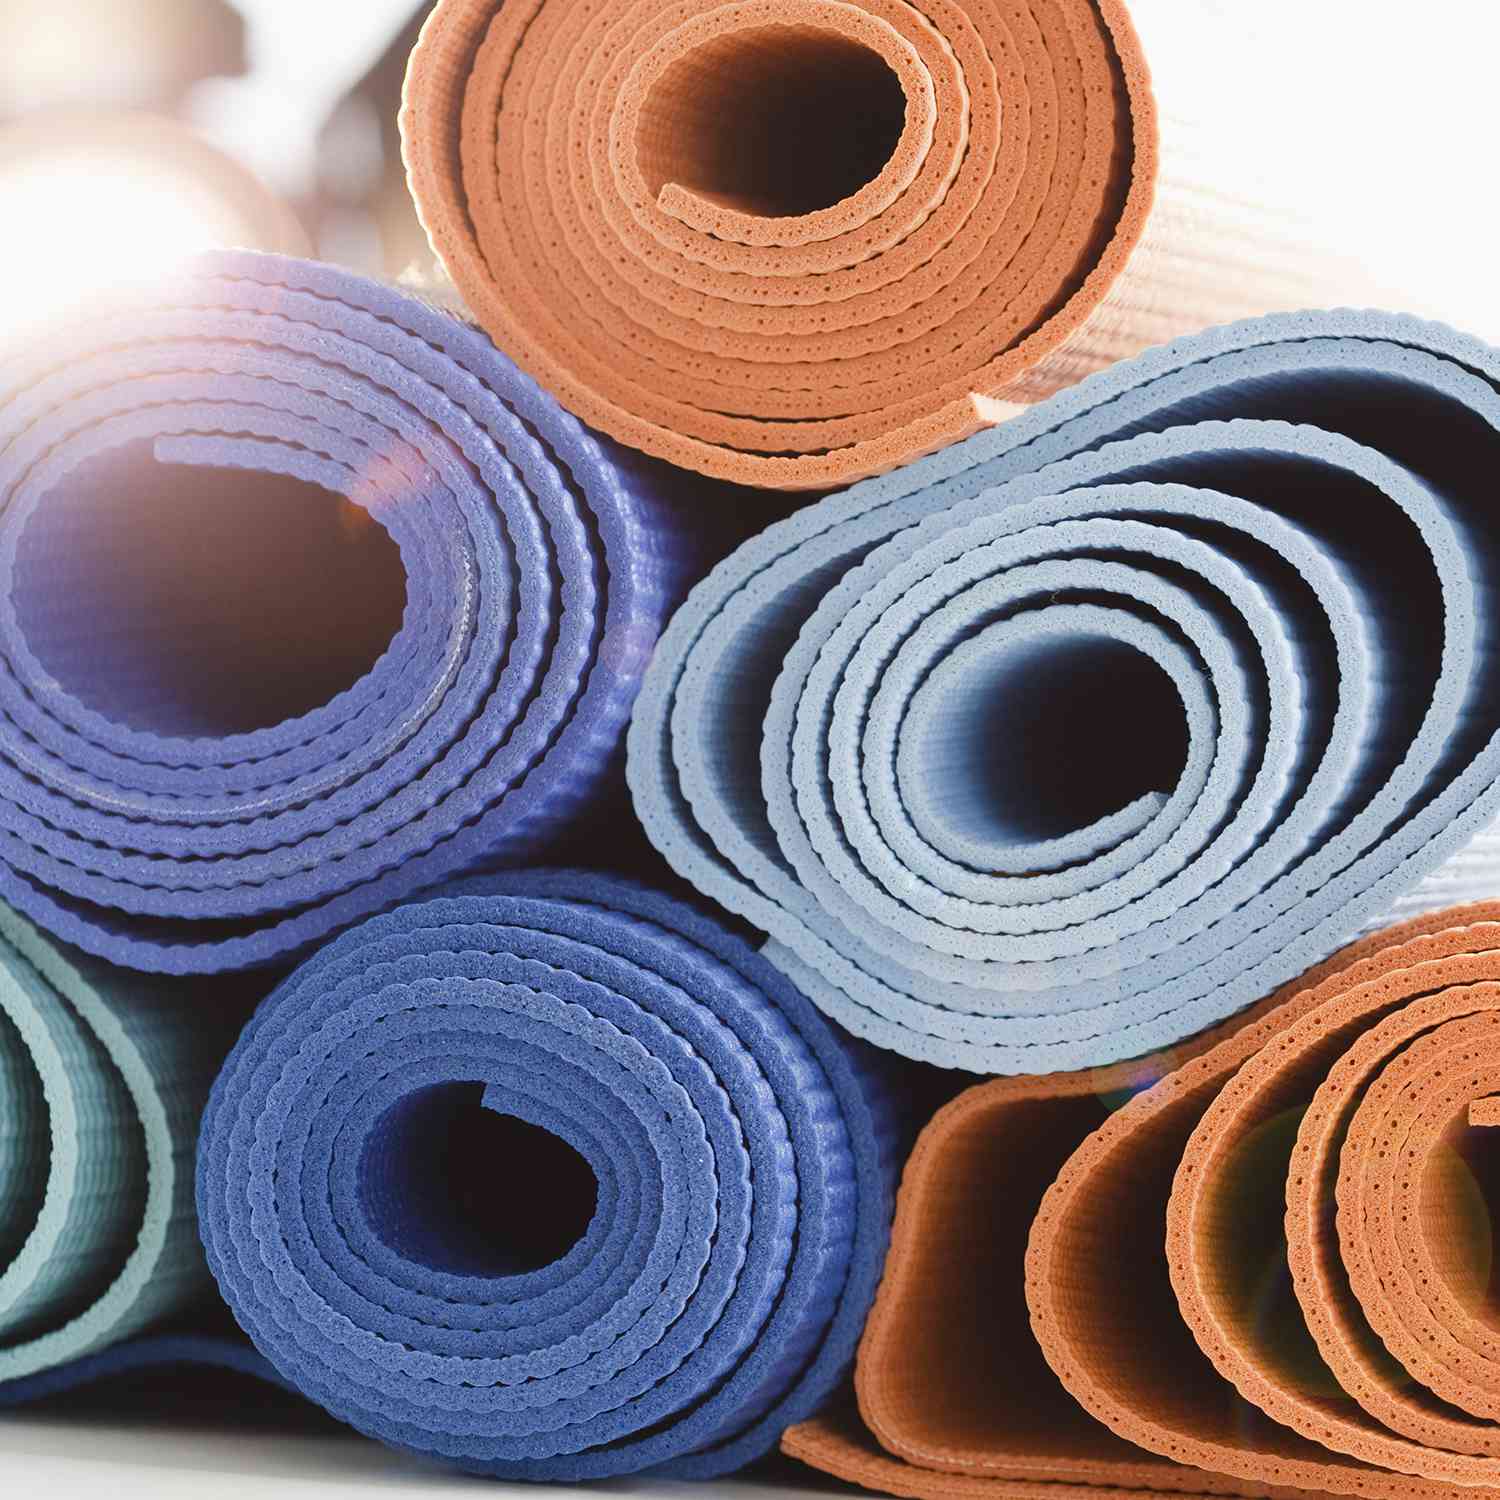
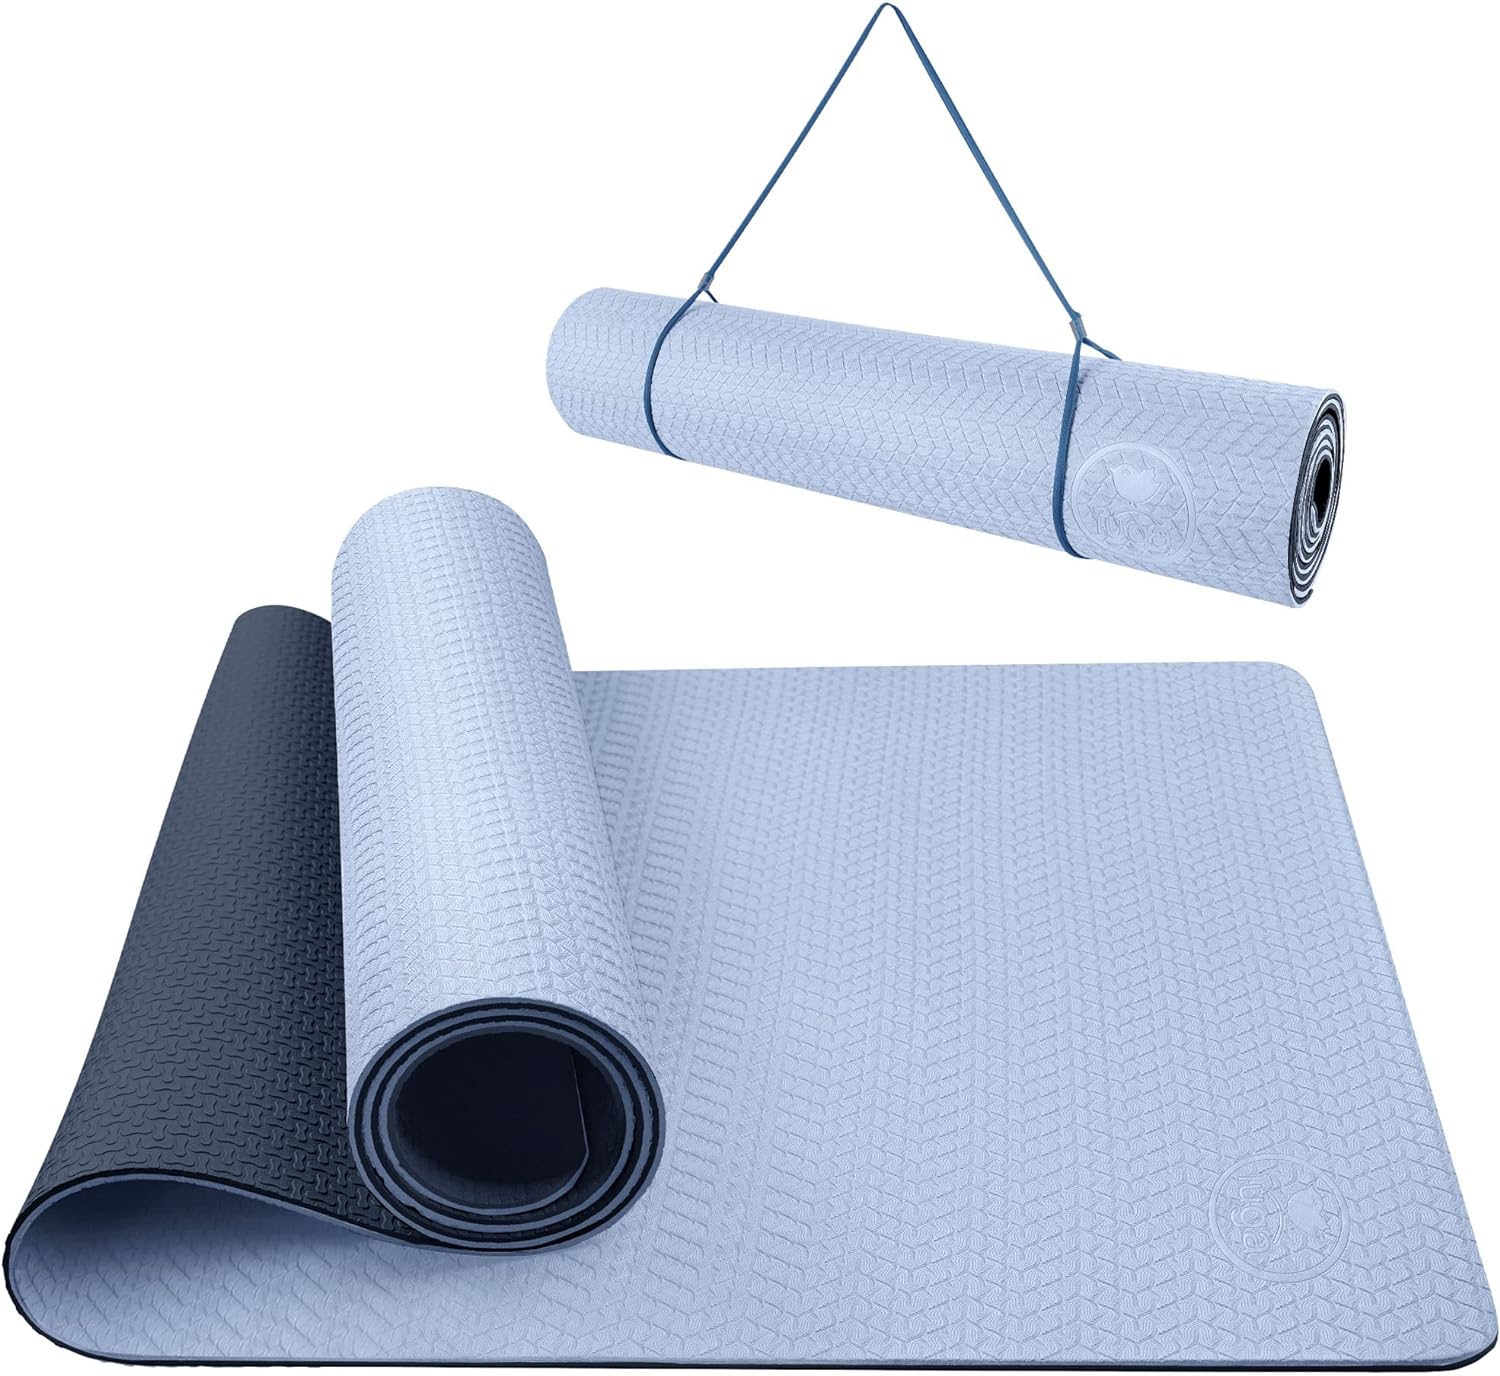
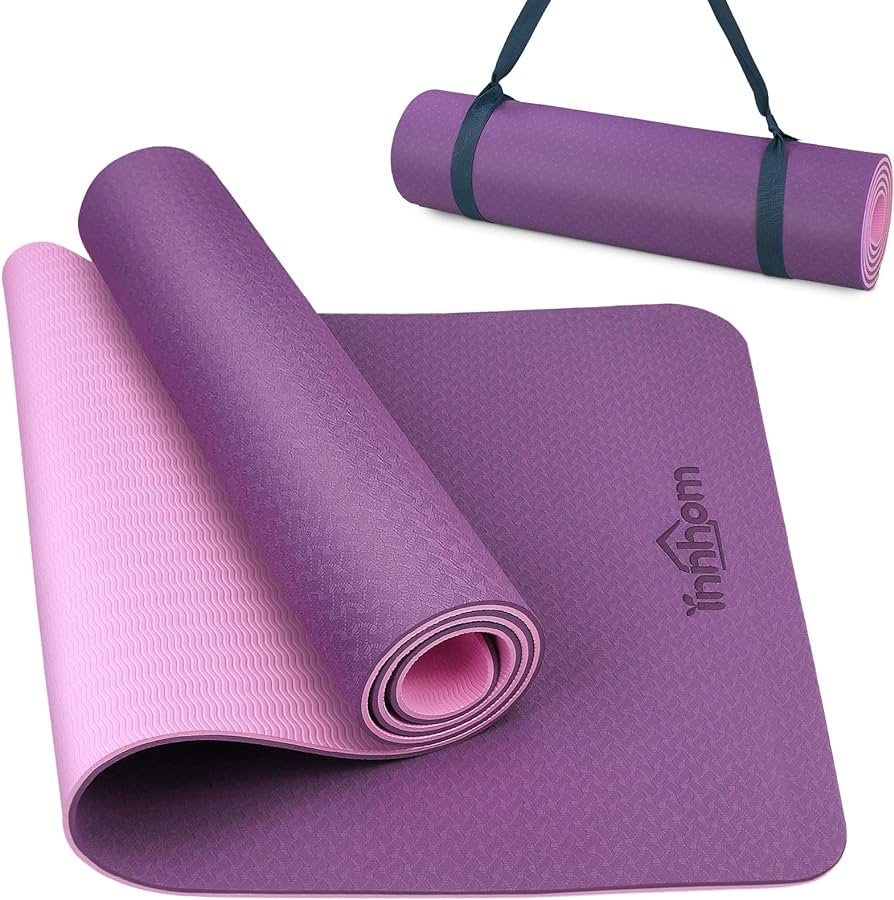
There are various types of yoga mats available, each with its own characteristics. When considering DIY customization, it’s important to choose a mat that allows for easy manipulation and design. We will explore options such as natural rubber mats, TPE mats, and cork mats.
B. Selecting eco-friendly and non-toxic materials:
In recent years, there has been a growing interest in eco-friendly and non-toxic yoga mats. We will discuss the importance of choosing materials that are free from harmful chemicals and how to identify eco-friendly options.
C. Considerations for grip, thickness, and durability:
The grip, thickness, and durability of a yoga mat can greatly impact your practice. We will discuss the importance of these factors and how to select a mat that meets your needs. We will also explore how these factors can influence the customization process.
III. Preparing the Surface
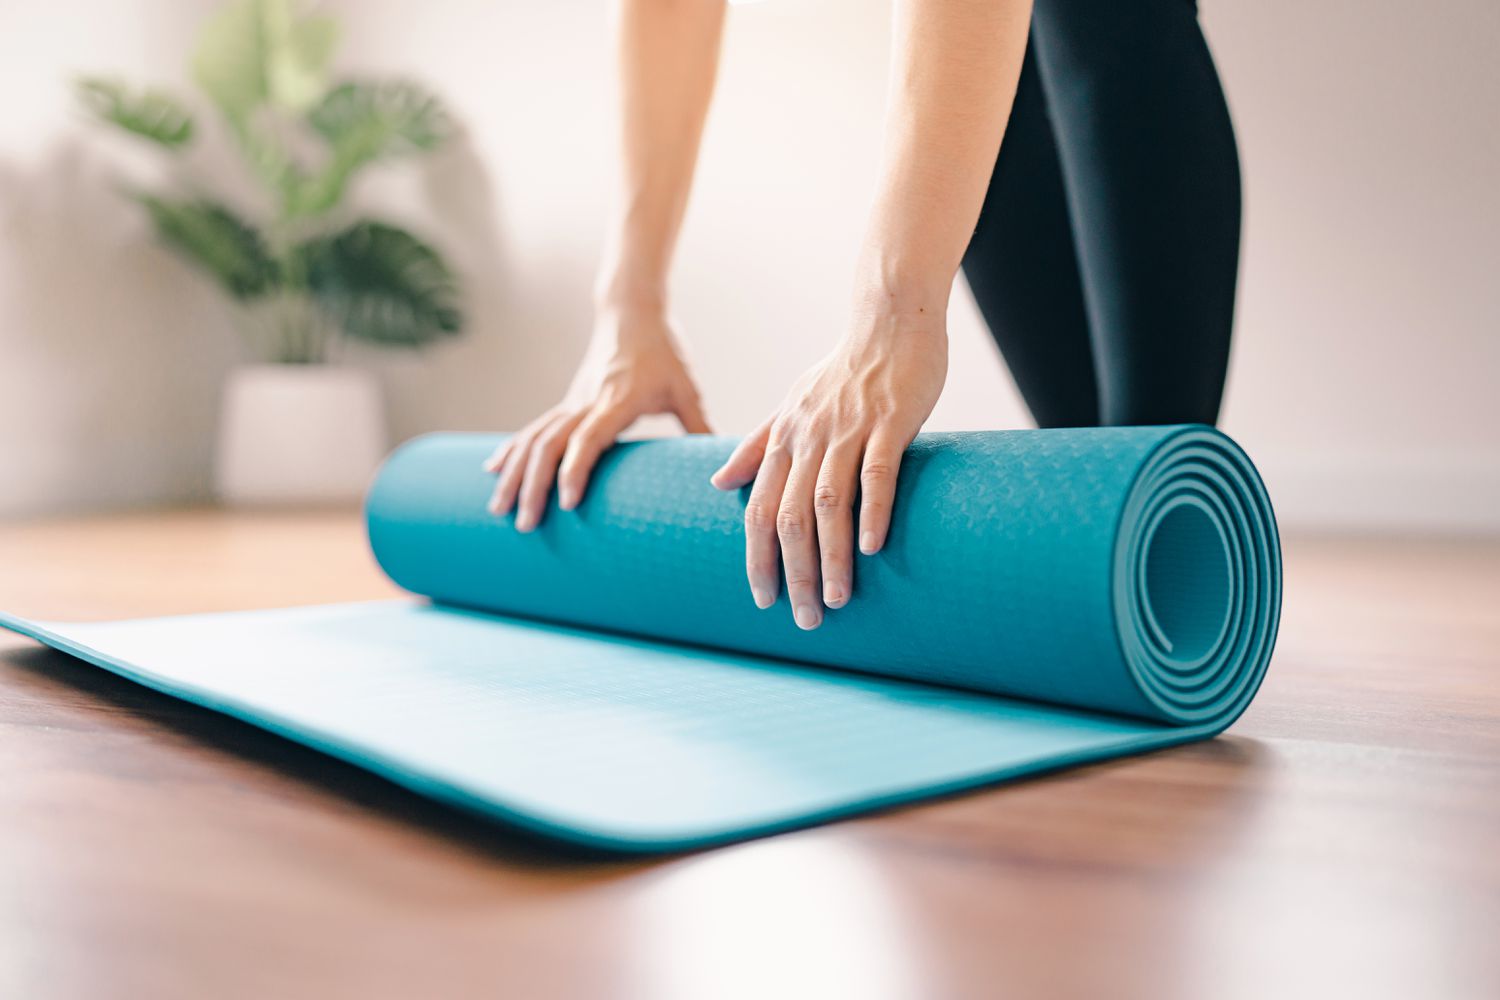
A. Cleaning and preparing the yoga mat for customization: Before customizing your yoga mat, it’s essential to ensure that the surface is clean and ready for any design or modification. We will provide step-by-step instructions on how to clean your mat effectively to remove any dirt, sweat, or residue that may interfere with the customization process.
B. Ensuring a smooth and even surface: A smooth and even surface is crucial for achieving a neat and professional-looking design. We will discuss techniques to ensure that your mat is adequately prepared, free from any bumps or imperfections, to create a seamless canvas for your customization efforts.
C. Precautions for different mat materials: Different mat materials may require specific considerations during the customization process. For example, certain paints or dyes may be suitable for one type of mat but not for another. We will provide guidance and precautions for different mat materials to ensure successful customization without damaging or compromising the integrity of the mat.
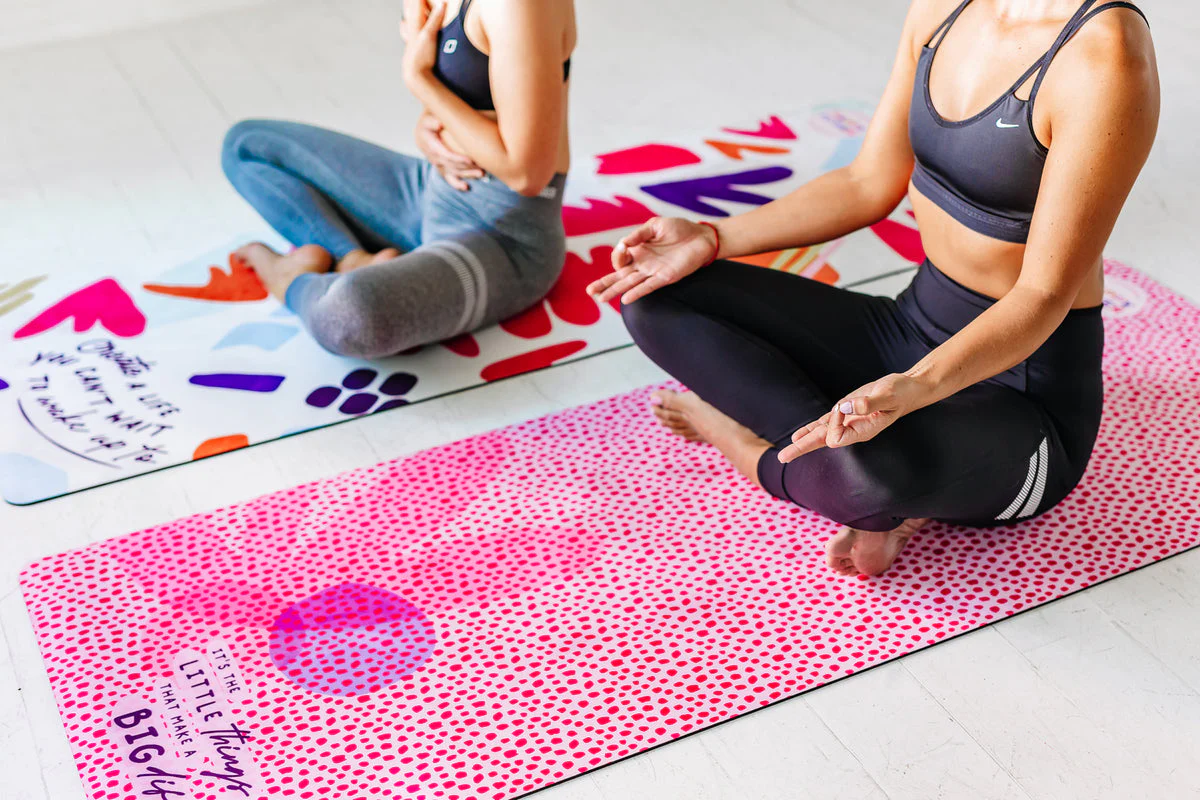
IV. DIY Techniques and Designs
A. Painting and Stenciling
Painting on a yoga mat can be a fun and creative way to personalize your practice space. To get started, you will need a few materials:
- Yoga mat: Choose a high-quality mat that is made of a material suitable for painting, such as a PVC-free yoga mat.
- Acrylic paints: These paints work well on yoga mats because they adhere to the surface and dry quickly. Make sure to choose high-quality acrylic paints that won’t crack or fade over time.
- Paintbrushes: Various brush sizes will allow you to create different effects and details in your design. Flat brushes are great for large areas, while smaller brushes are perfect for intricate patterns.
- Stencils: Stencils can help you create precise shapes and designs on your mat. Look for stencils with geometric patterns or mandala designs, or create your own stencils using cardboard or plastic sheets.
Once you have gathered your materials, follow these step-by-step instructions to create geometric patterns on your yoga mat:
- Clean the yoga mat: Before painting, make sure your mat is clean and free of any dirt or dust. Wipe it down with a damp cloth and let it dry completely.
- Prepare your design: Start by sketching your design on a piece of paper. This will help you visualize the pattern and make any necessary adjustments before painting.
- Trace the design on the mat: Using a pencil or tailor’s chalk, lightly trace your design onto the mat. This will serve as a guide for your painting.
- Start painting: Dip your brush into the acrylic paint and begin filling in the traced design on your mat. You can choose to paint solid shapes or use a dry-brushing technique for a more textured look. Mix different colors to create a vibrant and dynamic design.
- Let it dry: Once you have finished painting, allow the mat to dry completely. Depending on the weather conditions and the thickness of your paint layers, this may take a few hours or overnight.
B. Dyeing and Tie-Dyeing
Dyeing your yoga mat can add a unique and vibrant touch to your practice. Here’s what you will need:
- Yoga mat: Choose a mat made of a material suitable for dyeing, such as cotton or microfiber.
- Fabric dyes: There are various types of fabric dyes available, such as fiber-reactive dyes or natural dyes. Choose a dye that is suitable for the material of your mat and follow the instructions on the packaging.
- Rubber bands or string: These will be used to create different tie-dye patterns and effects.
- Plastic squeeze bottles or spray bottles: These will help you apply the dye evenly onto the mat.
To dye your yoga mat, follow these step-by-step instructions:
- Pre-wash the mat: Before dyeing, wash your mat with mild detergent to remove any dirt or residue. Rinse it thoroughly and let it dry completely.
- Prepare the dye: Mix the fabric dye according to the instructions on the packaging. Make sure to wear gloves and protect your work area with plastic or newspaper to avoid any stains.
- Apply the dye: You can apply the dye to your mat in various ways depending on the design you desire. For a tie-dye effect, gather sections of the mat and secure them with rubber bands or string. Apply the dye to the exposed areas using squeeze bottles or spray bottles.
- Let it sit: Once you have applied the dye, let the mat sit for the recommended amount of time. This could be anywhere from 30 minutes to several hours, depending on the dye used.
- Rinse and wash: After the dye has set, rinse the mat thoroughly with cold water until the water runs clear. Then, wash it with mild detergent and rinse again to remove any excess dye.
C. Embroidery and Appliqué
Adding embroidery and appliqué to your yoga mat can give it a unique and textured look. Here’s what you will need:
- Yoga mat: Choose a mat made of fabric or a material suitable for embroidery and appliqué, such as microfiber or cotton.
- Embroidery threads: Select threads in various colors that complement your mat. Make sure they are suitable for the material of your mat.
- Needle and embroidery hoop: These tools will help you stitch the embroidery onto the mat. Select a needle with a sharp point suitable for fabric and an embroidery hoop to keep the fabric taut while stitching.
- Fabric for appliqué: If you choose to add appliqué to your mat, select fabric in the desired colors and textures. Make sure it is flexible and easy to sew onto the mat.
By following these guidelines for finishing and caring for your DIY mat, you can ensure that your personalized design lasts for a long time, allowing you to enjoy a unique and customized yoga practice.