Introduction to Wheel Pose
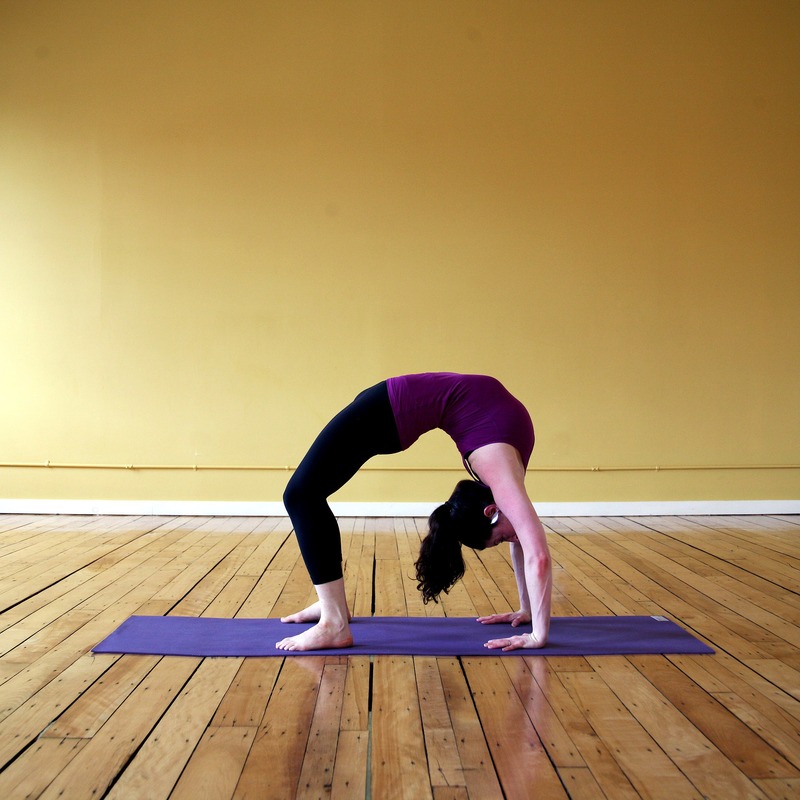
Yoga wheel pose, or Urdhva Dhanurasana, is a dynamic and challenging yoga pose. It forms a foundational part of Vinyasa and Ashtanga yoga, typically practiced at the end of a session when the body is most flexible and warm. This pose engages multiple muscle groups including the glutes, hamstrings, quads, shoulders, chest, and arms, requiring a blend of strength, flexibility, and balance.
What is Wheel Pose?
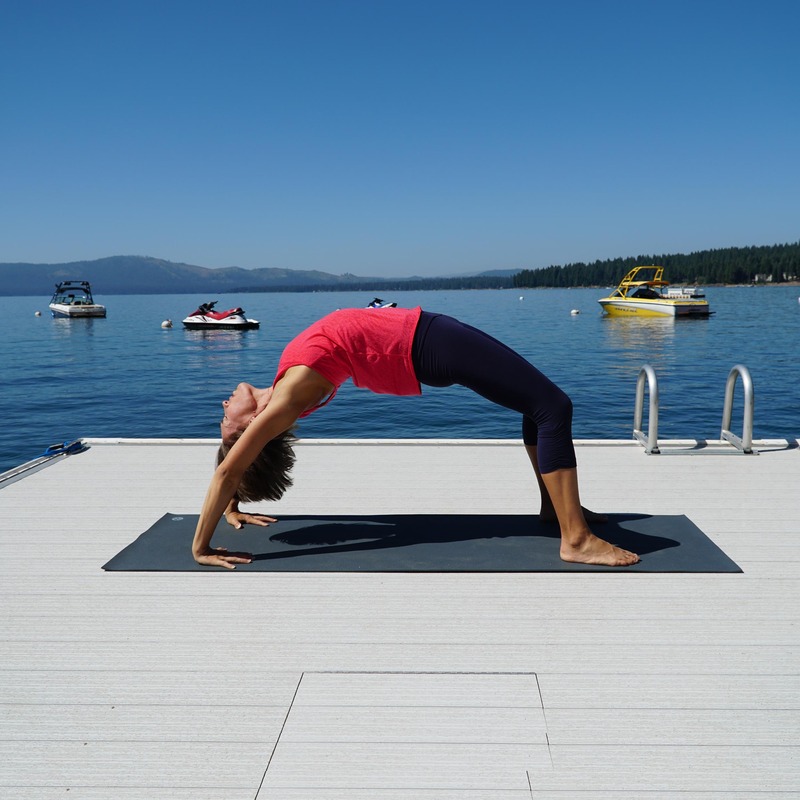
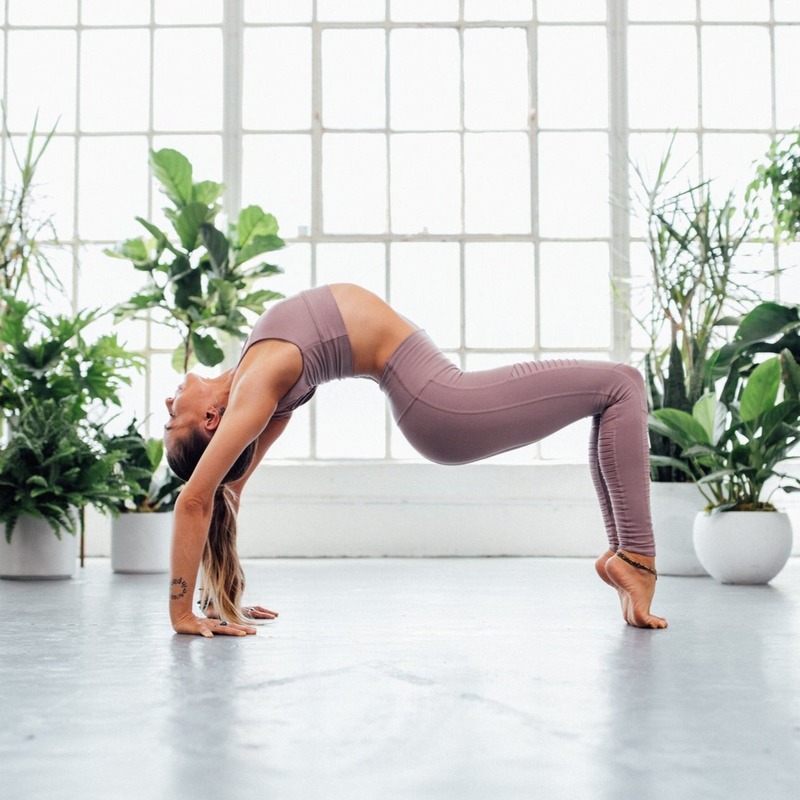
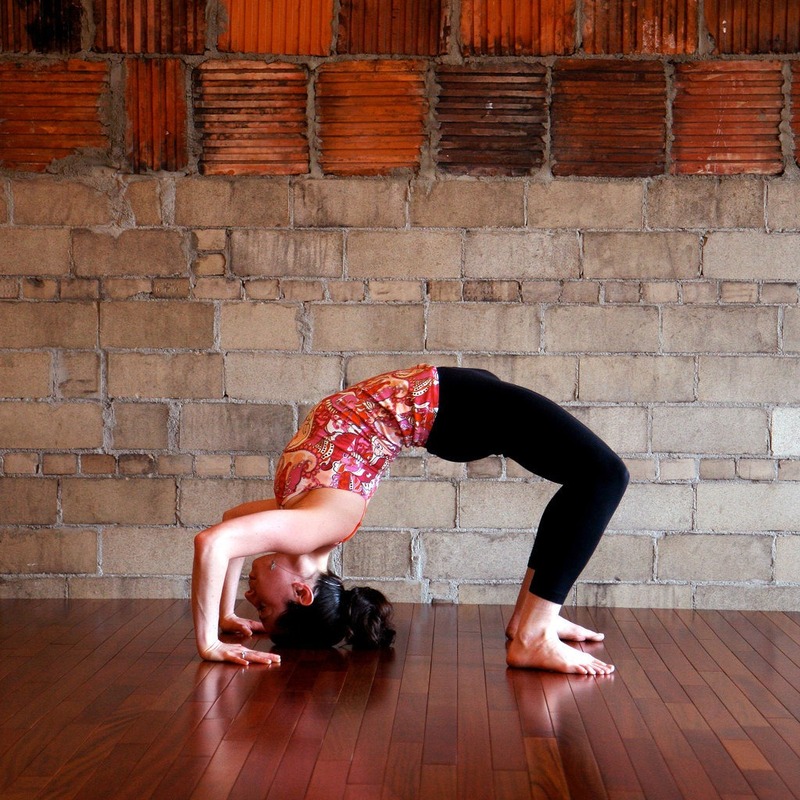
Wheel Pose, known as Urdhva Dhanurasana in Sanskrit, resembles an upside-down U shape. It is a significant backbend that involves lifting the body into an arch while the hands and feet remain on the floor. This pose is fundamental in many yoga practices and serves as a bridge to more advanced backbends.
Importance in Yoga Practice
Incorporating Wheel Pose into your yoga routine can significantly enhance your spinal flexibility and strength. It not only opens up the chest and shoulders but also builds muscle and enhances energy levels. Regular practice of Wheel Pose prepares the body for more complex asanas and inversions, contributing deeply to one’s holistic yoga journey.
Physical Benefits of Wheel Pose
Wheel Pose, or Urdhva Dhanurasana, offers numerous physical perks to yogis of all levels. It targets several key muscle groups and enhances overall bodily functions. Regular practice can lead to a stronger, more flexible, and balanced body. Understanding these benefits motivates practitioners to include Wheel Pose in their routine.
Strengthening Muscle Groups
In this dynamic asana, several muscle groups work together. Your glutes, quads, hamstrings, and lower back get a robust workout. As you lift into the pose, your arms and wrists engage deeply to support the body. The chest and shoulders also get energized. All these muscles gain strength which supports other activities in daily life.
Enhancing Flexibility and Balance
Wheel Pose greatly improves spinal flexibility. It stretches the chest and hip flexors, encouraging a greater range of motion. Balancing in the pose requires core engagement, which enhances stability and balance over time. As flexibility and balance develop, the body achieves a state of harmony and ease.
Step-by-Step Guide to Performing Wheel Pose
To master the Wheel Pose, or Urdhva Dhanurasana, follow this simple yet detailed process. Each step builds on the last, ensuring a safe and effective practice.
Starting Position and Hand Placement
Begin by lying flat on your back on a yoga mat. Bend your knees and keep your feet flat, hip-width apart. Your heels should be close enough to touch with your fingertips. Place your palms on the ground beside your ears, fingers pointing towards your feet, and elbows pointing up.
Lifting Techniques and Adjustments
Inhale deeply. As you exhale, press your feet and hands into the mat, lifting your hips and chest upwards. If you’re just starting out or not ready for the full pose, pause here, holding for three breaths before lowering back down gently. For full Wheel Pose, extend your arms and legs fully, aiming to form an arch.
Maintaining and Exiting the Pose
Hold the pose for several breaths, staying mindful of your body’s signals. Keep your core engaged and your limbs active to maintain the pose. To come out, bend your elbows and knees slowly, bringing your body back to the mat with care.
These steps form the core of Wheel Pose, a blend of strength, flexibility, and poise. As you practice, remember not to rush the process and to honor your body’s abilities and limits.
Overcoming Challenges in Wheel Pose
Wheel Pose, known for its intensity, presents various challenges. Understanding these can help in mastering the pose with confidence and safety.
Mental and Physical Demands
Wheel Pose demands both mental courage and significant physical flexibility and strength. Mentally, the inversion aspect can feel daunting. This posture pushes many to confront their fears of falling or failing. Physically, it requires strong arms, legs, and a flexible back and shoulders. It’s crucial to build these aspects gradually to maintain safety.
Tips for Beginners and Modifications
If new to Wheel Pose, start with simpler backbends. These include Bridge Pose, where you lift your spine from the floor while keeping your head down. Use props like yoga blocks under your hands for support if reaching the floor is tough. Always focus on a gradual progression rather than forcing the pose. This approach helps in adapting to the pose without injury. Remember, each session brings you closer to your goal.
Complementary Asanas for Wheel Pose Training
To excel in the yoga wheel pose, incorporating other asanas is key. These complementary exercises can boost flexibility and ensure a comprehensive cooldown.
Preparatory Poses to Enhance Flexibility
Before attempting wheel pose, warming up with specific asanas helps. Try these:
- Cobra Pose (Bhujangasana): Lie on your stomach, hands under shoulders, and lift your chest. This warms up your back.
- Bridge Pose (Setu Bandha Sarvangasana): Lie on your back, feet flat, and lift your hips. It prepares your spine.
- Camel Pose (Ustrasana): Kneel and reach back to your heels. This pose opens your chest and hips.
Incorporate these postures into your routine to improve the flexibility required for wheel pose.
Post-Wheel Pose Stretches and Cool Down
After completing the wheel pose, stretches aid in muscle recovery. Consider these cooldown asanas:
- Child’s Pose (Balasana): Sit on your heels, fold forward, and rest your forehead on the ground. This relaxes your back.
- Supine Twist (Supta Matsyendrasana): Lay on your back and twist your lower body to one side. It releases tension.
- Happy Baby Pose (Ananda Balasana): On your back, grab your feet and rock gently. This soothes your spine.
These stretches help to reduce tension and round off your yoga practice safely.
Common Mistakes and Injury Prevention
While Wheel Pose, or Urdhva Dhanurasana, offers many benefits, it can also lead to injury if not performed correctly. To safely practice and gain the most from this pose, it’s essential to understand and avoid common mistakes. Proper form is key to preventing strain and ensuring a beneficial experience.
Recognizing and Correcting Poor Form
Poor form in Wheel Pose often involves placing strain on areas like the neck, back, and wrists. This can lead to discomfort and injury. Key mistakes include:
- Straining the neck: Avoid looking around; keep your gaze upward.
- Splaying the knees: Keep knees hip-width apart, aligned with your feet.
- Hyperextending elbows: Maintain a slight bend in the elbows.
- Flaring the ribs: Engage your core to stabilize your midsection.
To correct these issues, set a steady gaze, engage your thighs, keep elbows bent slightly, and tighten your core muscles. This will improve alignment and stability.
Techniques for Safe Practice
Safety in Wheel Pose comes with a mix of preparation, awareness, and the proper use of props and modifications. Start with these techniques for a safer practice:
- Warm-up properly: Engage in stretching exercises for the back, shoulders, and hip flexors before attempting Wheel Pose.
- Use props: If needed, place yoga blocks under your hands for added support.
- Listen to your body: If you feel any pain, gently exit the pose.
- Strengthen your muscles: Incorporate exercises that build strength in your arms, legs, and core.
Always approach Wheel Pose with patience and gradually increase your practice intensity. By recognizing common mistakes and employing safe techniques, you can enjoy the full benefits of Wheel Pose while minimizing the risk of injury.
Incorporating Wheel Pose into Your Yoga Routine
Incorporating Wheel Pose, or Urdhva Dhanurasana, into your yoga routine has numerous benefits. It not only helps in building strength and flexibility but also offers a sense of achievement as you master it. As an SEO expert and professional blogger, I recommend finding yoga classes that focus on backbends or specifically on Wheel Pose to really hone your skills.
Recommended Classes and Sessions
If you’re seeking to enhance your Wheel Pose practice, opt for yoga classes that emphasize backbends. Apps like Peloton offer specialized sessions for different experience levels. Look for options such as ‘Focus Flow: Wheel Pose’ for a targeted workout. Participating in these classes regularly can greatly improve your proficiency in this challenging asana.
Beginners should start with shorter, less intense sessions to build up their comfort level. As you progress, participate in longer classes that challenge your growing capabilities. Remember, consistency is key to improvement.
Progression Tips and Techniques
To progress in Wheel Pose, start small and be patient. Be mindful of the muscles being used and focus on gradual improvements. Here are some quick tips:
- Regular practice: Consistency helps your body adapt and build the needed strength and flexibility.
- Warm-up well: Start with poses like Cobra or Bridge Pose to prepare your body.
- Listen to your body: Don’t push too hard and risk injury. Take your time.
- Use props: Yoga blocks and straps can assist your pose and provide support.
- Focus on form: Ensure your elbows and knees are not hyperextended and your core is engaged.
Follow these tips, and with time, Wheel Pose can become a valued part of your yoga routine, contributing to your physical and mental wellness. Always remember to enjoy the process and celebrate the small victories along your yoga journey!
